Showing posts with label DIY. Show all posts

Tuesday, October 4, 2011

Easy Earring Holder

I was pleased when I found this frame at the DI because I am always looking for this style.  

I planned on ditching the cherub and wire, then I had an idea to hang my earrings from the wire. 

I got lucky because I didn't have to do much to make this work, but you could easily replicate by using chicken coop wire. 

Friday, September 30, 2011

Another Barn Wood Sign

I've gotten a little crazy with these barn wood signs. The wood sat for months, untouched, and now all the sudden I've decided I must make use of them. Using the same technique as I did on the Egg Sign, here is my latest-


Monday, September 26, 2011

Farm Fresh Eggs Sign

I decided to make a sign for my parent's chicken coop (they have16 chickens...give or take). It was pretty easy but still took me awhile.

I took some barn wood and cut it a little bit smaller than the width of a door frame (Thanks to Amanda and Kim, Brad's friends, for the gifted wood).


Next I sprayed two coats of KILZ and 1 coat of Krylon White.

Next, I drew up the design using my Silhouette and cut the images from vinyl.  

 Here is the stencil of the chicken

I used some cheap WalMart spray paint to paint the chicken and the letters. 

Here is the final product. I think it turned out pretty good!
 

Ps. Don't tell my parents about the sign since its a Christmas present ;)

Saturday, September 24, 2011

DIY Necklace Holder

 One day perusing Pinterest I came across this necklace holder- (I love all those necklaces btw)

                                                        Source: karapaslaydesigns.blogspot.com via Jennifer on Pinterest

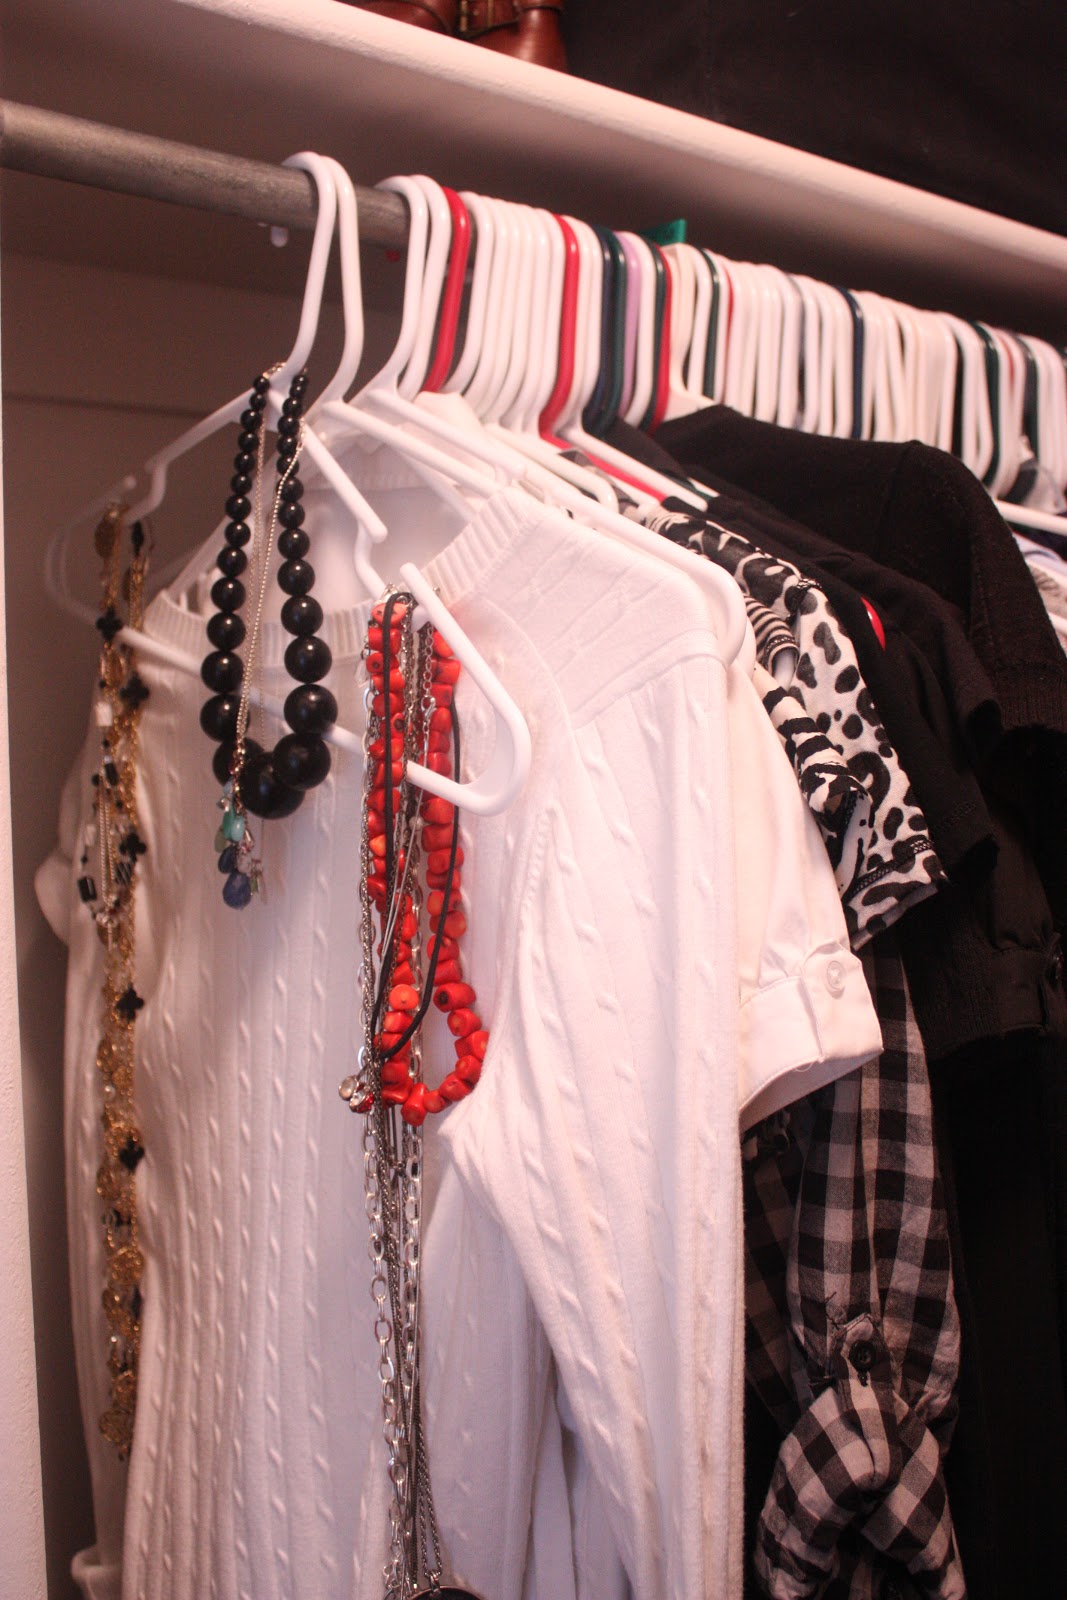
Being a good sister, Erica took note and later made it for my birthday present. Here is what my necklace situation was before: 
very organized and not annoying. at. all. 
I believe this was made by taking a board found at DI, painting it white and adding cute knobs from Hobby Lobby. Simple, yet so cute. I really love it! 


Sunday, May 15, 2011

Office Chair {updated}


I previously posted about this chair here. I primed, spray painted it white and added a little distressing. Can't wait to use it in my new office. 

PS. My mom helped me sew the blue and white pillow case from IKEA kitchen towels. I love cabana stripe prints!

Tuesday, May 10, 2011

Tissue Paper Flower Arrangement

I etched a bird design onto a yard sale vase for my mom's Mother's Day gift. I needed something to put in it and I opted for something that would last longer than fresh cut flowers.

I did a Google search for paper flowers and found a tutorial at Zakka Life to make tissue paper flowers. I used pale pink tissue paper, glue sticks and branches from my house. 


 Look close and you can see the etched bird. 

Monday, April 4, 2011

Weekend Projects

This weekend started out in the awesome 70s and ended with 6+ inches of snow. Utah weather is such a drag sometimes. Saturday morning I woke up early to go to the gym and then do my favorite thing: thrifting.

Erica and I hit up the D.I. to see what we could find. And oh did we find. We had a cartful of goods but we had to go through the rounds of "do we have a need/use for this"?  

She only bought 1 thing. I bought some CDs, Nancy Drew book (starting a collection), pic frames, lamp, pitcher, this Audrey Hepburn clock {which turns out is from CB2 and retaield at $50!!) etc. 


Since the weather was so nice, I started working on a really cute dresser I found on KSL and spray painted some frames and the lamp above. 

Sunday, while watching General Conference, I worked on this sunburst mirror and chair


 More details on these two projects to come. 

Sunday, March 20, 2011

Burlap Pillow {take one}

I bought some burlap at Hobby Lobby and Iron-On Transfer Paper from WalMart. I found this image from Graphics Fairy to put on my pillow-


Don't forget to print as a mirror image or it won't turn out! Here is what it looked like after printing-


Here I am ironing the image on


  Here is the finished picture...sadly, this picture makes it look so much better than it really does. Good thing this is "take one"

I didn't pull the iron-on up fast enough so you can see it on the pillow. Boo.


Good news! This is the picture of the back- you can't even see the iron-on so I can try it again.


I will be back with take two!
Photobucket

Saturday, October 30, 2010

Chalkboard Take II


Awhile back I posted about another chalkboard but I couldn't leave well enough alone so I changed it up a bit! 


Photobucket

Saturday, October 2, 2010

The Ugly Duckling

This is the tale of an ugly duckling...


This sad disaster was free from my local online classifieds. Only one of the 5 drawers was salvageable due to water damage. As you can see, the back also had some serious damage.


We tore the back off and decided to put beadboard on instead. You will also notice that the wardrobe is a few inches shorter. My husband used the jig saw to cut off the space where the bottom drawer was to go. This was because the "legs" were too damaged.  I also talked him into turning the space where the drawers were into shelves.

This Krylon "Blue Ocean Breeze" is my favorite spray paint but instead of buying those $3 cans over and over I decided to have my husband (my personal Home Depot Consultant) color match me an entire can of latex paint! I decided to paint the wardrobe with this new paint-


 I had this drawer pull hanging around the house...


Not counting the paint (which I paid $10 for awhile back when the Ralph Lauren paint was on sale at HD) I only spent $6 on MDF to make the shelves.

I learned a few valuable lessons during this project: 1. Do not sand a piece that has layers of paint unless you plan to sand the entire area. 2. Act really disappointed when your husband thinks a project is a waste of time and he will be guilted into helping!

Linking To:
Photobucket